The complete guide
Fitting an under-sink filter: what the three-minute claim assumes
"Installs in three minutes" is a real number, and it describes the connection step on a sink that happens to be set up conveniently. Here is the whole job, including the parts that claim leaves out.
Check these four things before you order
1. Is there an isolation valve on the cold feed? Look under the sink at the pipe running up to the tap. Most UK installations from the last twenty years have a small inline valve with a slot for a screwdriver. If yours has one, you can isolate the cold supply in seconds. If it does not, you will be turning off the mains stopcock and draining down, which is still fine but is not a three-minute job.
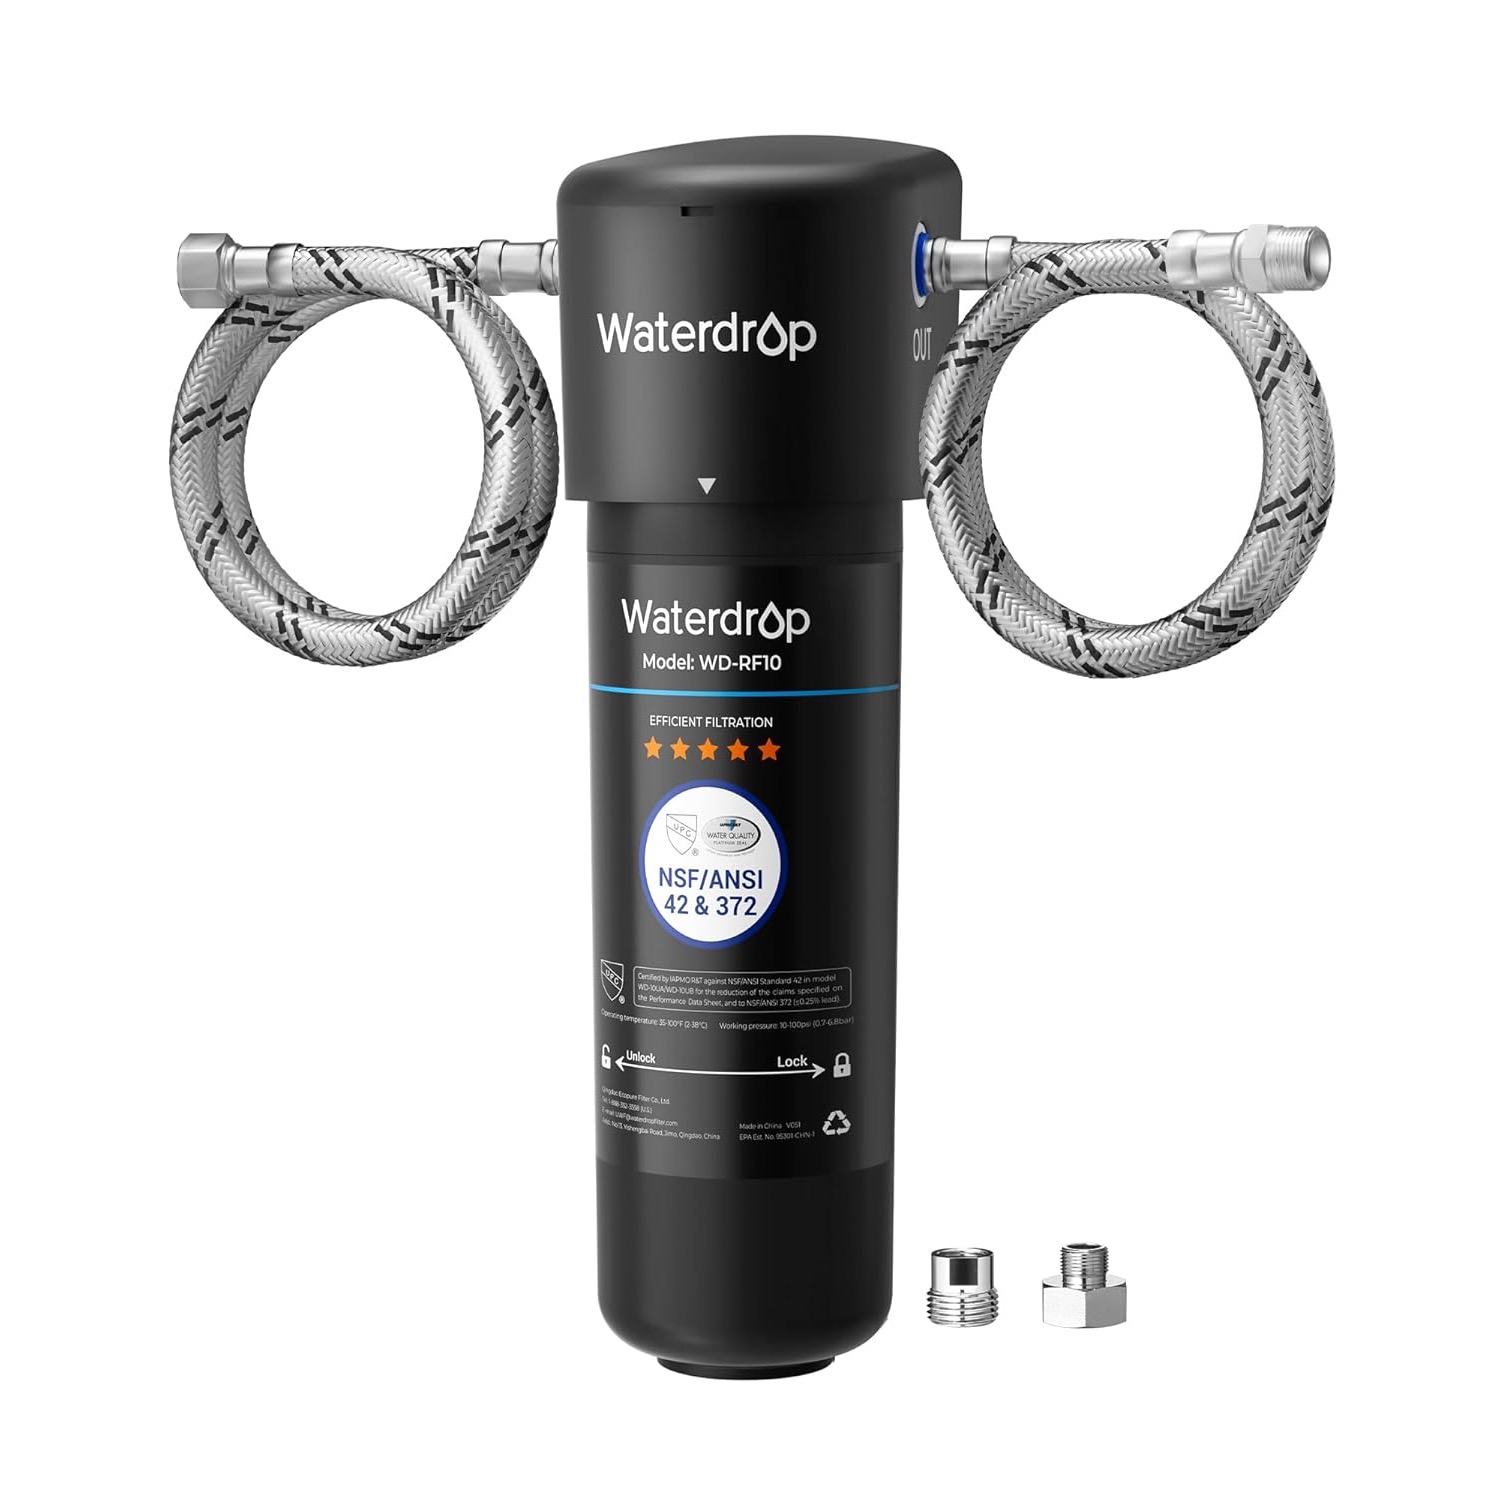
2. Are the tap connectors flexible hoses? Modern taps connect with braided flexible hoses, usually 3/8 inch or 1/2 inch. That is what this system is designed to sit between, and the box includes a 3/8 inch hose and a 3/8-to-1/2 inch converter set. If your tap is connected with rigid copper and compression olives, this becomes a plumbing job.
3. Is there room for the unit and the change? The filter is 31.2 cm long. You have space if you can fit that either horizontally or vertically. But also check you can rotate the cartridge out when the time comes — the twist-and-lock mechanism needs swing room, and a unit wedged behind a waste trap is one you will regret annually.
4. Cold feed only. Fit it on the cold supply. Hot water destroys carbon media and voids the certification.
The actual sequence
- Isolate the cold supply at the valve, then open the tap to release pressure.
- Put a bowl and a towel underneath. There is always residual water in the hose. Always.
- Disconnect the cold flexible hose from the tap tail.
- Mount the filter to the cabinet side with the supplied screws, if you are fixing it. It can also sit freestanding, though fixing it is tidier and stops it dragging on the connections.
- Connect the inlet to the cold supply and the outlet to the tap tail, using the converter if your sizes differ. Push-fit connections seat with a firm push until they stop.
- Restore the supply slowly and check every joint with a dry finger.
- Flush the cartridge by running the cold tap for the time Waterdrop specify. The first water through carries carbon fines and will look grey — this is normal and it clears.
Things that go wrong
- Not flushing enough. Grey water and a slightly gritty first glass. Run it longer.
- Under-seated push-fit connectors. They leak slowly rather than dramatically. Check again after an hour, and again the next day.
- Forgetting the PTFE tape on threaded joints. It is in the box for a reason.
- Mounting it where you cannot reach it. The single most common regret.
Living with it
Put the fit date in your calendar with a twelve-month reminder. The cartridge is rated for up to 11,000 gallons or a year, and unlike a jug there is no visual cue that it is exhausted — the tap keeps running either way. Falling flow rate is your other signal.
What it will not do
It reduces chlorine, heavy metals, sediment and PFOA/PFOS. It does not reduce hardness or TDS, so your kettle will still scale. If that is the problem you are solving, the ED06W targets hardness, and reverse osmosis is what reduces dissolved solids — though notably, the countertop RO system needs no plumbing at all, which for renters makes it the easier install of the two.